Introduction
As cryptocurrencies like Bitcoin, Ethereum, and other digital assets gain popularity, securing your funds becomes more important than ever. Unlike traditional bank accounts, crypto requires personal responsibility for storage and protection. This is where Trezor, a leading hardware wallet, comes in. Trezor ensures that your private keys remain offline and protected, giving you peace of mind in an increasingly digital financial world.
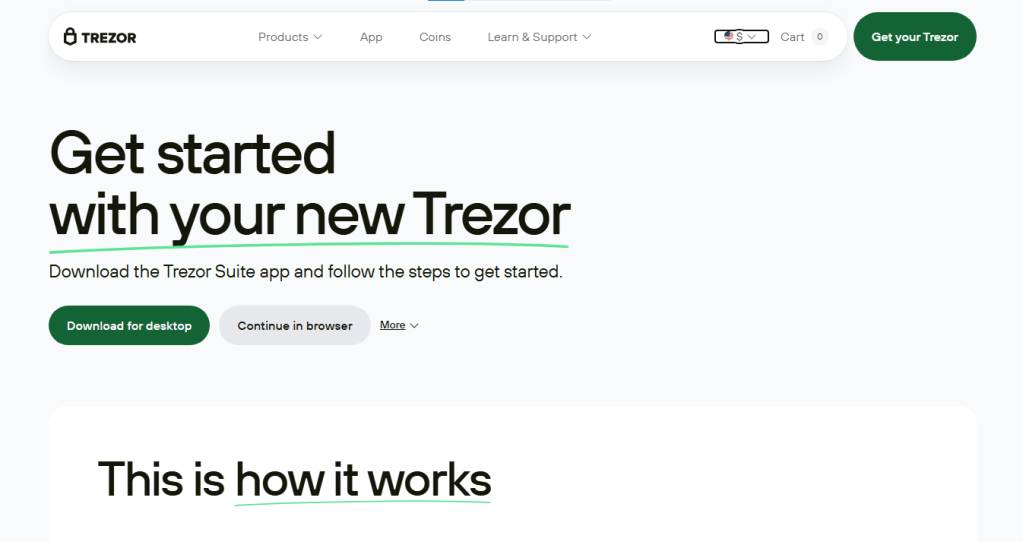
The official setup page, Trezor.io/Start, is designed to help new users safely initialize and manage their wallet. This guide will walk you through the entire process, from unboxing your Trezor device to sending and receiving cryptocurrency, while explaining essential security practices.
Trezor is a physical device that stores cryptocurrency private keys offline. Private keys are the unique digital credentials that give you access to your crypto funds. Keeping them offline prevents hackers and malware from stealing your assets.
Trezor offers two main models:
Both devices combine user-friendly design with strong security features. They allow you to safely manage multiple cryptocurrencies and perform transactions with confidence.
When receiving your Trezor device, check that the packaging is intact and untampered. Inside the box, you will typically find:
The recovery seed is your most important asset. It is the key to restoring your wallet if your device is lost, stolen, or damaged. Never share it or store it digitally.
The setup process begins by visiting Trezor.io/Start, ensuring you access official software and instructions.
Trezor Suite will serve as your central hub for account management, sending and receiving funds, and monitoring your portfolio.
After connecting your device, Trezor Suite will guide you through initialization. You can choose between creating a new wallet or recovering an existing one.
Important: Store your recovery seed securely offline. It is the only way to recover your funds.
Next, you’ll create a PIN to protect your Trezor from unauthorized access.
With the PIN in place, your device is protected against theft or physical access by strangers.
Once your wallet is initialized, you can add accounts for different cryptocurrencies via Trezor Suite:
Trezor allows you to manage multiple accounts across multiple coins. All transactions must be confirmed physically on the device, adding an extra layer of security.
By requiring physical confirmation, Trezor ensures transactions cannot be altered by malware or hackers.
Trezor provides advanced security options for additional protection:
These optional features enhance security for long-term investors or users holding significant funds.
Following these best practices ensures your crypto assets remain safe under all circumstances.